
Editing an existing Stop Pattern should only be done if the changes you are making are already in effect, or will be at the time you request an export.
If the changes you wish to make affect future service, follow the tutorial on Schedule Changes.
Learn More
Stop Pattern Editing Overview
Finding the Right Stop Pattern
Depending on the complexity of service on a given Route, you may have multiple Stop Patterns to choose from. Use the Compare Patterns link to look at all Stop Patterns serving a single Direction at once.
Alternatively, you can identify which Trips in your Schedule require edits by using the Schedule Viewer to navigate to a specific Pattern. Since a Stop Pattern may have one or more timed patterns associated with it, make sure that the addition of stops to the stop pattern in question affects only the trips you intend.
Learn More
Rename Your Stop Pattern
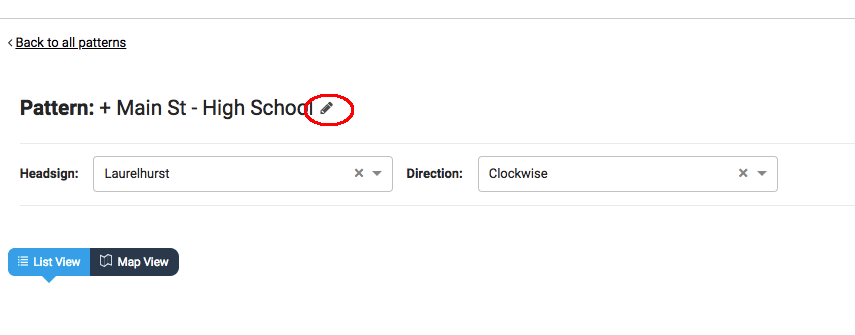
You can rename your Stop Pattern by selecting the Pencil icon next to the Stop Pattern Name. Any changes will automatically Save when you click out of the edit box.
Learn More
Adding a Stop to a Stop Pattern
You can add a stop to a stop pattern in List View or Map View.
List View
To add a Stop to a Stop Pattern in List View, simply hover your cursor over the desired location in the Stop Pattern. In this example we want to insert a new Stop between the existing first and third Stops.
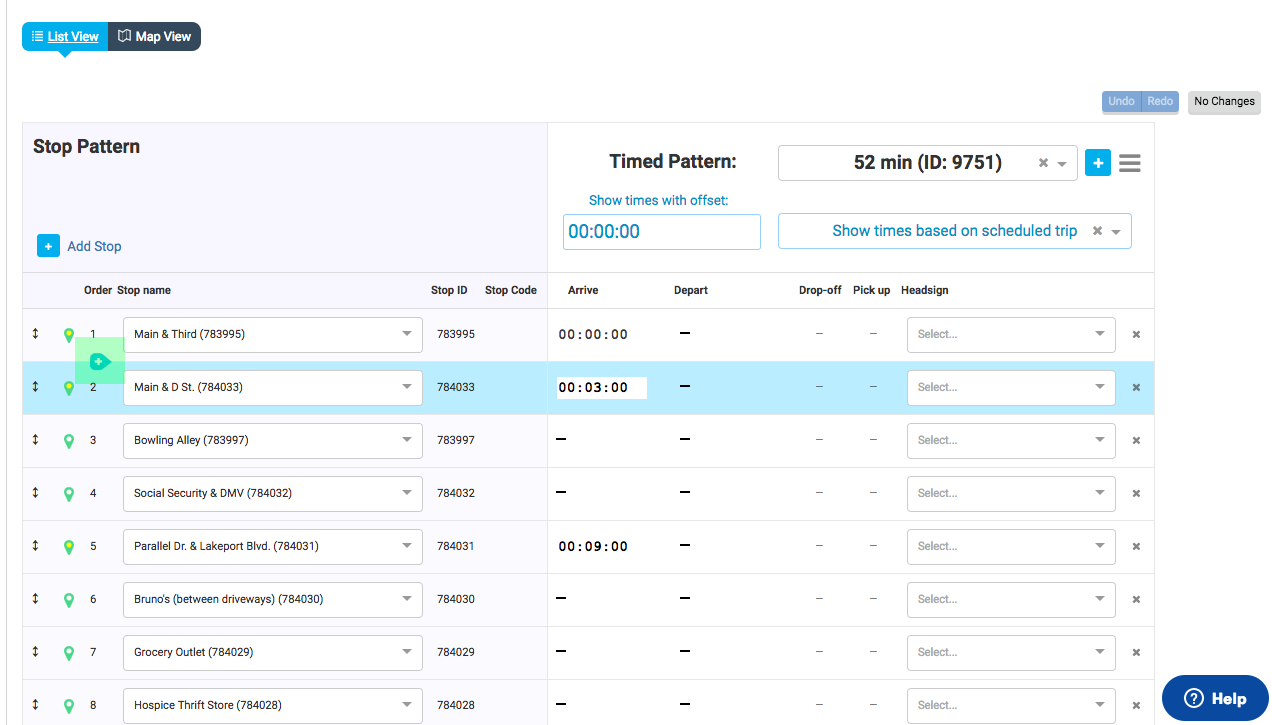
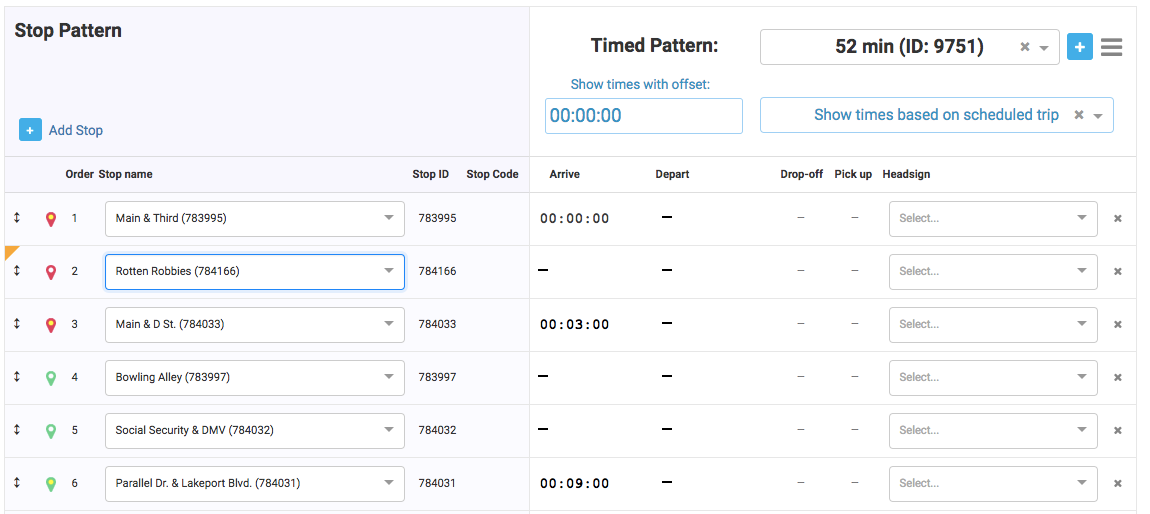
Click on the  icon. A dialogue box appears allowing you to choose your desired Stop, and if necessary change its position in the list. From here you can also choose to insert an additional Stop at any position in the pattern. We see the new Stop added below. The icons are colored red to indicate that an Alignment needs to be created for this segment of the Stop Pattern. The top-left corner of the new Stop row is colored orange to indicate that this is a new Stop that has just been added to the Stop Pattern, and has not yet been saved.
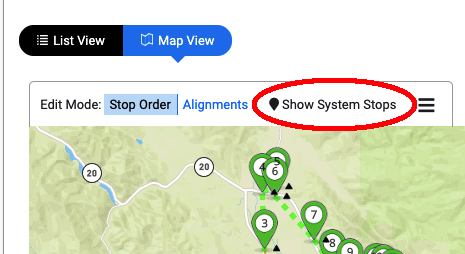
Map View
To enter Map View, click on the ![]() icon at the top of the list of Stops. Next, change the edit mode to Stop Order. On the map you can see each Stop in the Stop Pattern highlighted with their order in the Stop Pattern. If only the currently used Stops are showing on the map, select the Show System Stops link.
icon at the top of the list of Stops. Next, change the edit mode to Stop Order. On the map you can see each Stop in the Stop Pattern highlighted with their order in the Stop Pattern. If only the currently used Stops are showing on the map, select the Show System Stops link.
To hide Stops not included in this Stop Pattern, select Hide System Stops.

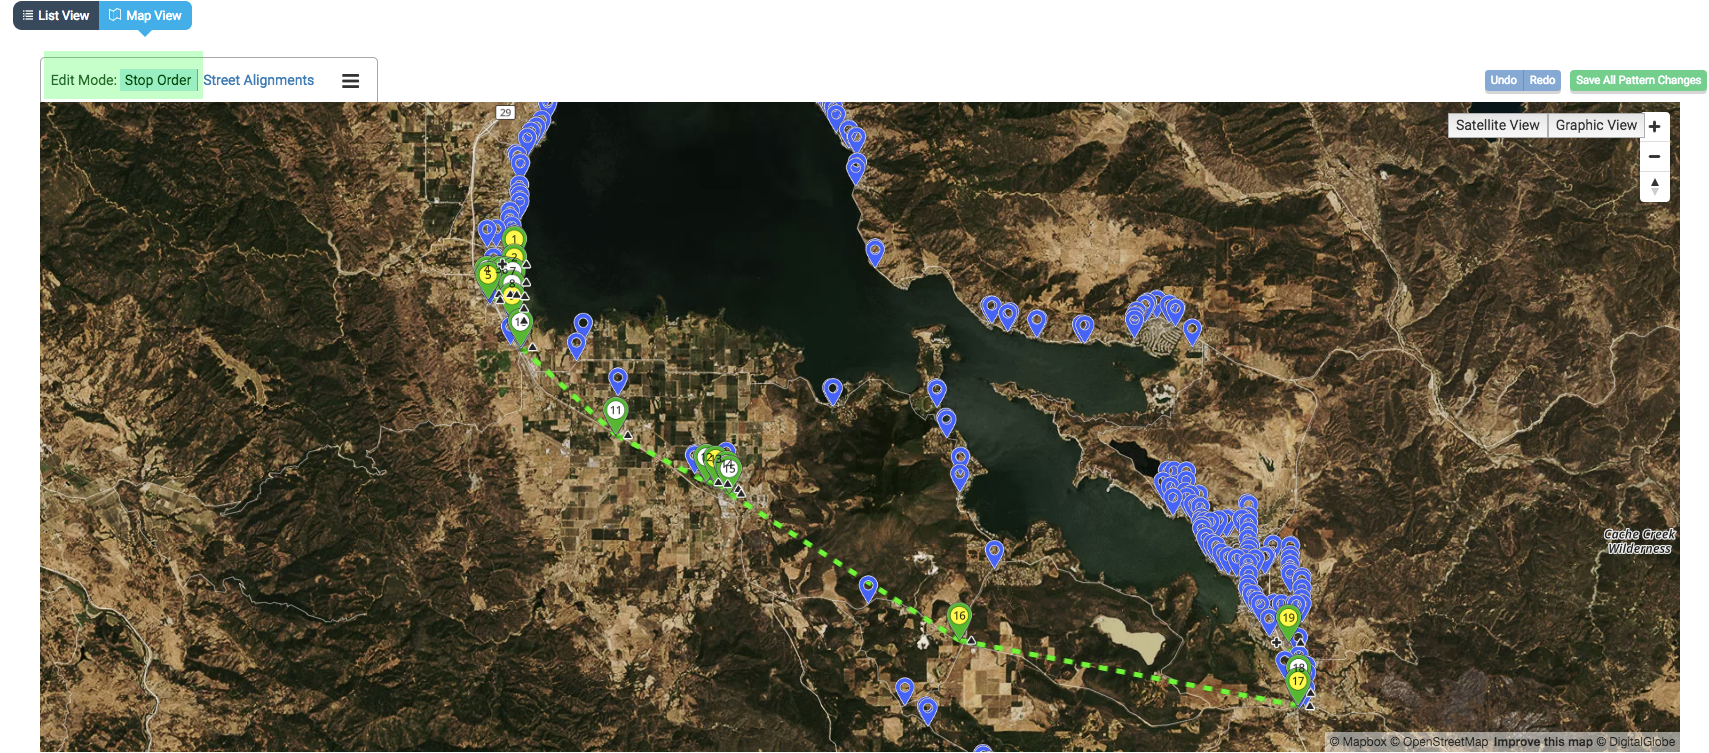
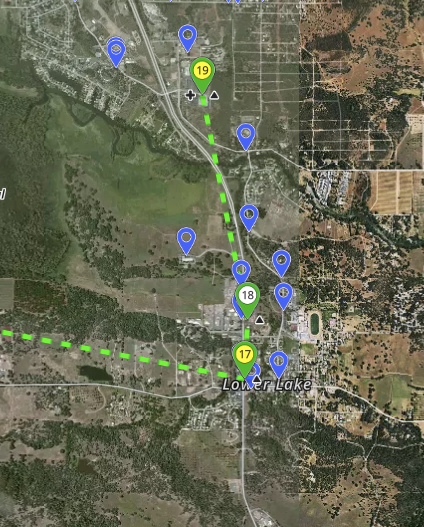
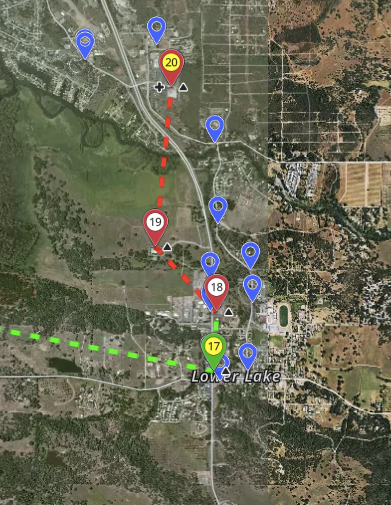
Connecting each Stop is a dashed line. To add a Stop simply drag the dashed line to the desired Stop.
If the dashed line is colored red, that indicates that an Alignment needs to be created for this segment of the Stop Pattern.
Learn More
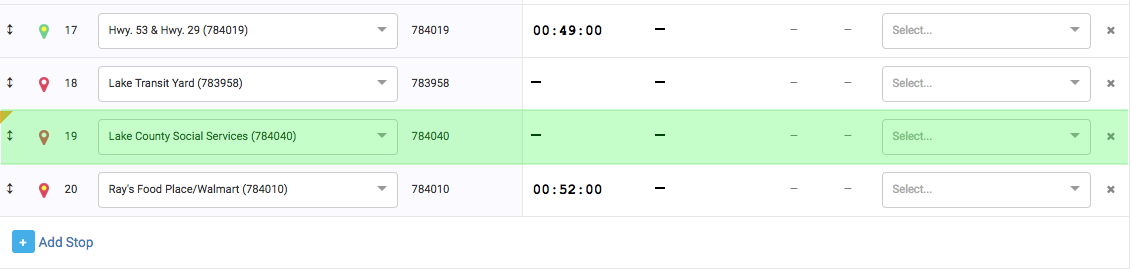
If you navigate back to List View, we can see this new Stop added in List View as well. The icons are colored red to indicate that an Alignment needs to be created for this segment of the Stop Pattern. The top-left corner of the new Stop row is colored orange to indicate that this is a new Stop that has just been added to the Stop Pattern, and has not yet been saved. Click Save.
Comments
0 comments
Please sign in to leave a comment.